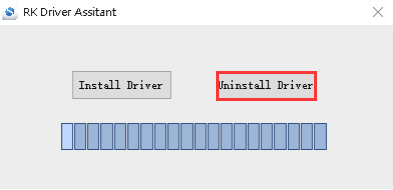
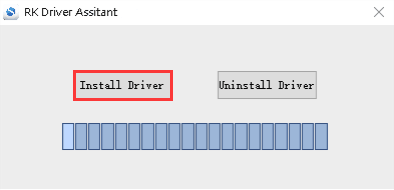
3. Install Rockchip Driver Assistant
If it is the first time to download firmware in Windows, you need to
install Rockchip Driver DriverAssitant/DriverInstall.exe
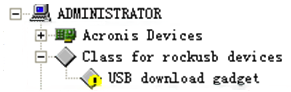
After the installation is complete, connect the board and PC with USB Type-C cable and press Recovery key and hold then power the board, in Computer Management can see the following information:
The window will pop up found New Hardware Wizard dialog box, choose to
install from the specified location, and then select
DriverAssitant/ADBDriver
After the installation is complete in Computer Management can see the following information:
